NOTE. The surface of the tank must be clean and flat in the area of the O-ring (diameter 145mm).
It must also be clean and flat INSIDE the tank where the inner disc goes (diameter 145mm), that is, internal walls and baffles must be avoided.
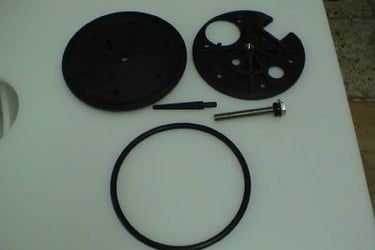
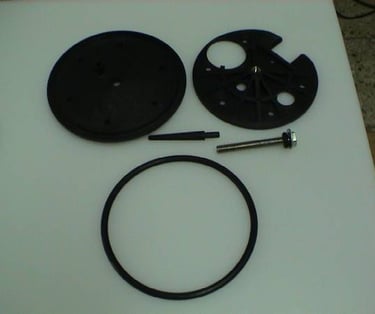
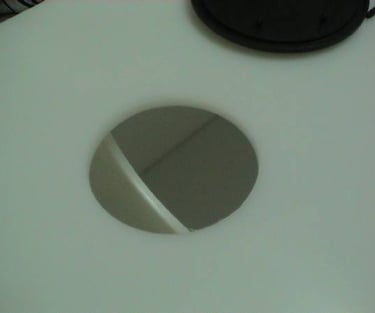
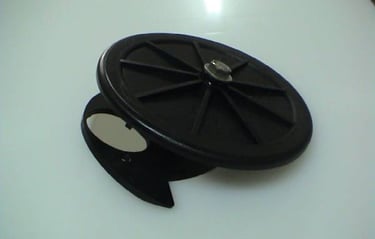
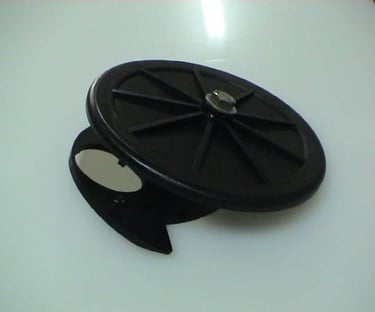
1) Lid components. Outer disc, inner disc, locating pin, screw, O-ring
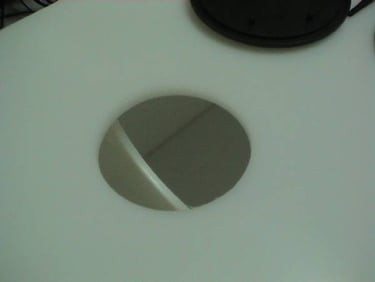
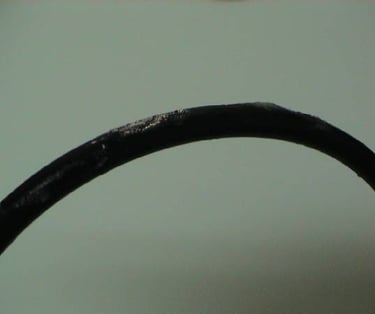
2) Cut 115mm hole. Be careful not to let the hoe saw jump and damage the surface of the tank where the large 145mm O-ring goes. Note: The photo shows a custom tank made by Boatwide, the internal wall has been designed to allow the lid to be mounted in this location. In other tanks the internal walls are not designed to mount the lid in this area.
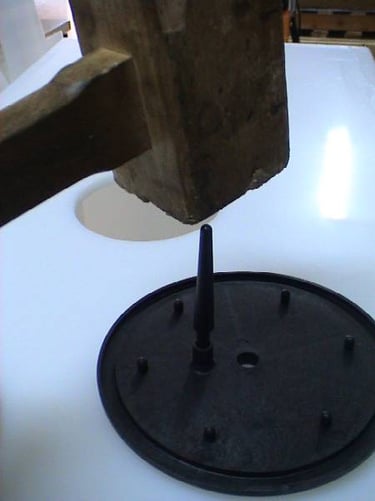
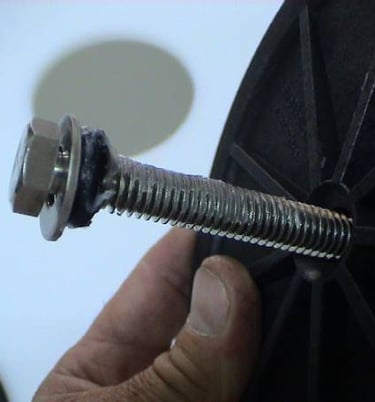
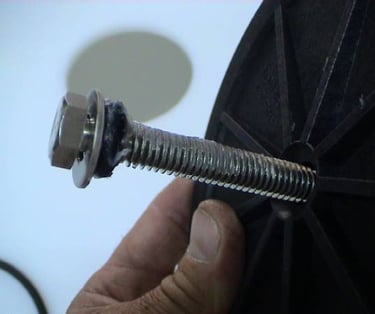
3) Install the locating pin on the outer disk. Lubricate the locating pin with Vaseline . Be careful not to break the pin in its hole.
4) IMPORTANT: Lubricate the screw threads with Vaseline/grease
Also lubricate the small O-ring and the large O-ring with Vaseline.
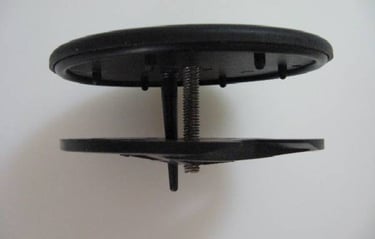
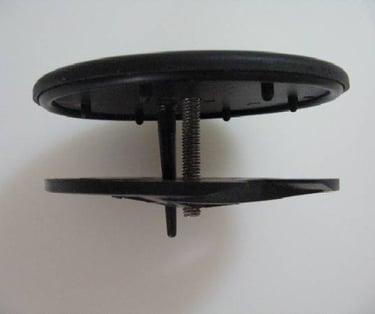
5) Assemble the cover. Be careful that the lower disc has its flat side facing the upper disc. That is, the inner disc has to place its flat face together with the wall of the tank. Just screw the screw into the bottom disc by one centimeter
6) Install the lid winto the tank by putting the bottom disc cutout through the wall of the reservoir. Turn the entire cover to completely insert the lower disc.
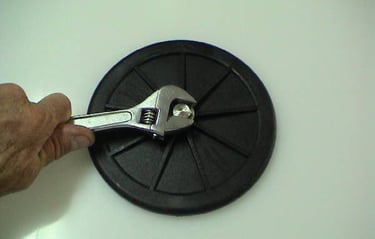
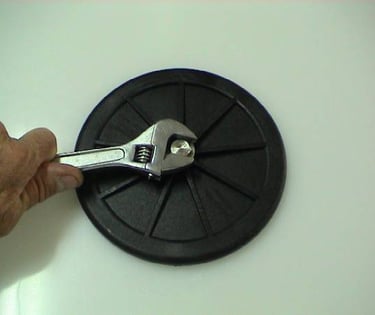
7) Place the central cover in its hole, snugly fitting completely into the 115mm hole. Make sure the gasket is in its groove. Tighten the screw by hand until tight.
Tighten 3.5 more turns with the wrench.
This manhole cover withstands the air pressure test of 3 tons per square meter.

How to Install a tank Access Hatch
CONTACT
info@boatwide.es
TEL: 0034 666096077
0034 626246131
Hours
Monday to Friday
08:30 - 17:30